
Shopify Tutorial: Set Up Your Store in 2026 (Step-by-Step)
Starting an online store can feel like a lot of moving parts. This Shopify tutorial walks you through the entire setup process in a logical order, from creating your account to hitting publish. You'll also find practical tips on product research, theme selection, and the settings that most often trip up new merchants.
Before You Start: What You'll Need

Shopify Tutorial: Set Up Your Store in 2026 (Step-by-Step) - Before You Start: What You'll Need.
- A valid email address and payment method for your Shopify subscription
- Product information (titles, descriptions, prices, images) or a plan to source products
- A domain name (you can buy one through Shopify or connect an existing one)
- Basic brand assets: logo, color palette, and a few product photos
Shopify offers a free trial, and after it ends, new merchants can often get their first three months for $1 per month. The Basic plan is the most popular starting point.
Step 1: Create Your Shopify Account
Shopify Tutorial: Set Up Your Store in 2026 (Step-by-Step) - Step 1: Create Your Shopify Account.
Go to Shopify's website and sign up. You'll be guided through a short questionnaire about your business. Once inside, you'll land on the admin dashboard—the control center for your store. Take a few minutes to click through the left-hand menu so you know where products, orders, customers, and settings live.
Step 2: Add Products
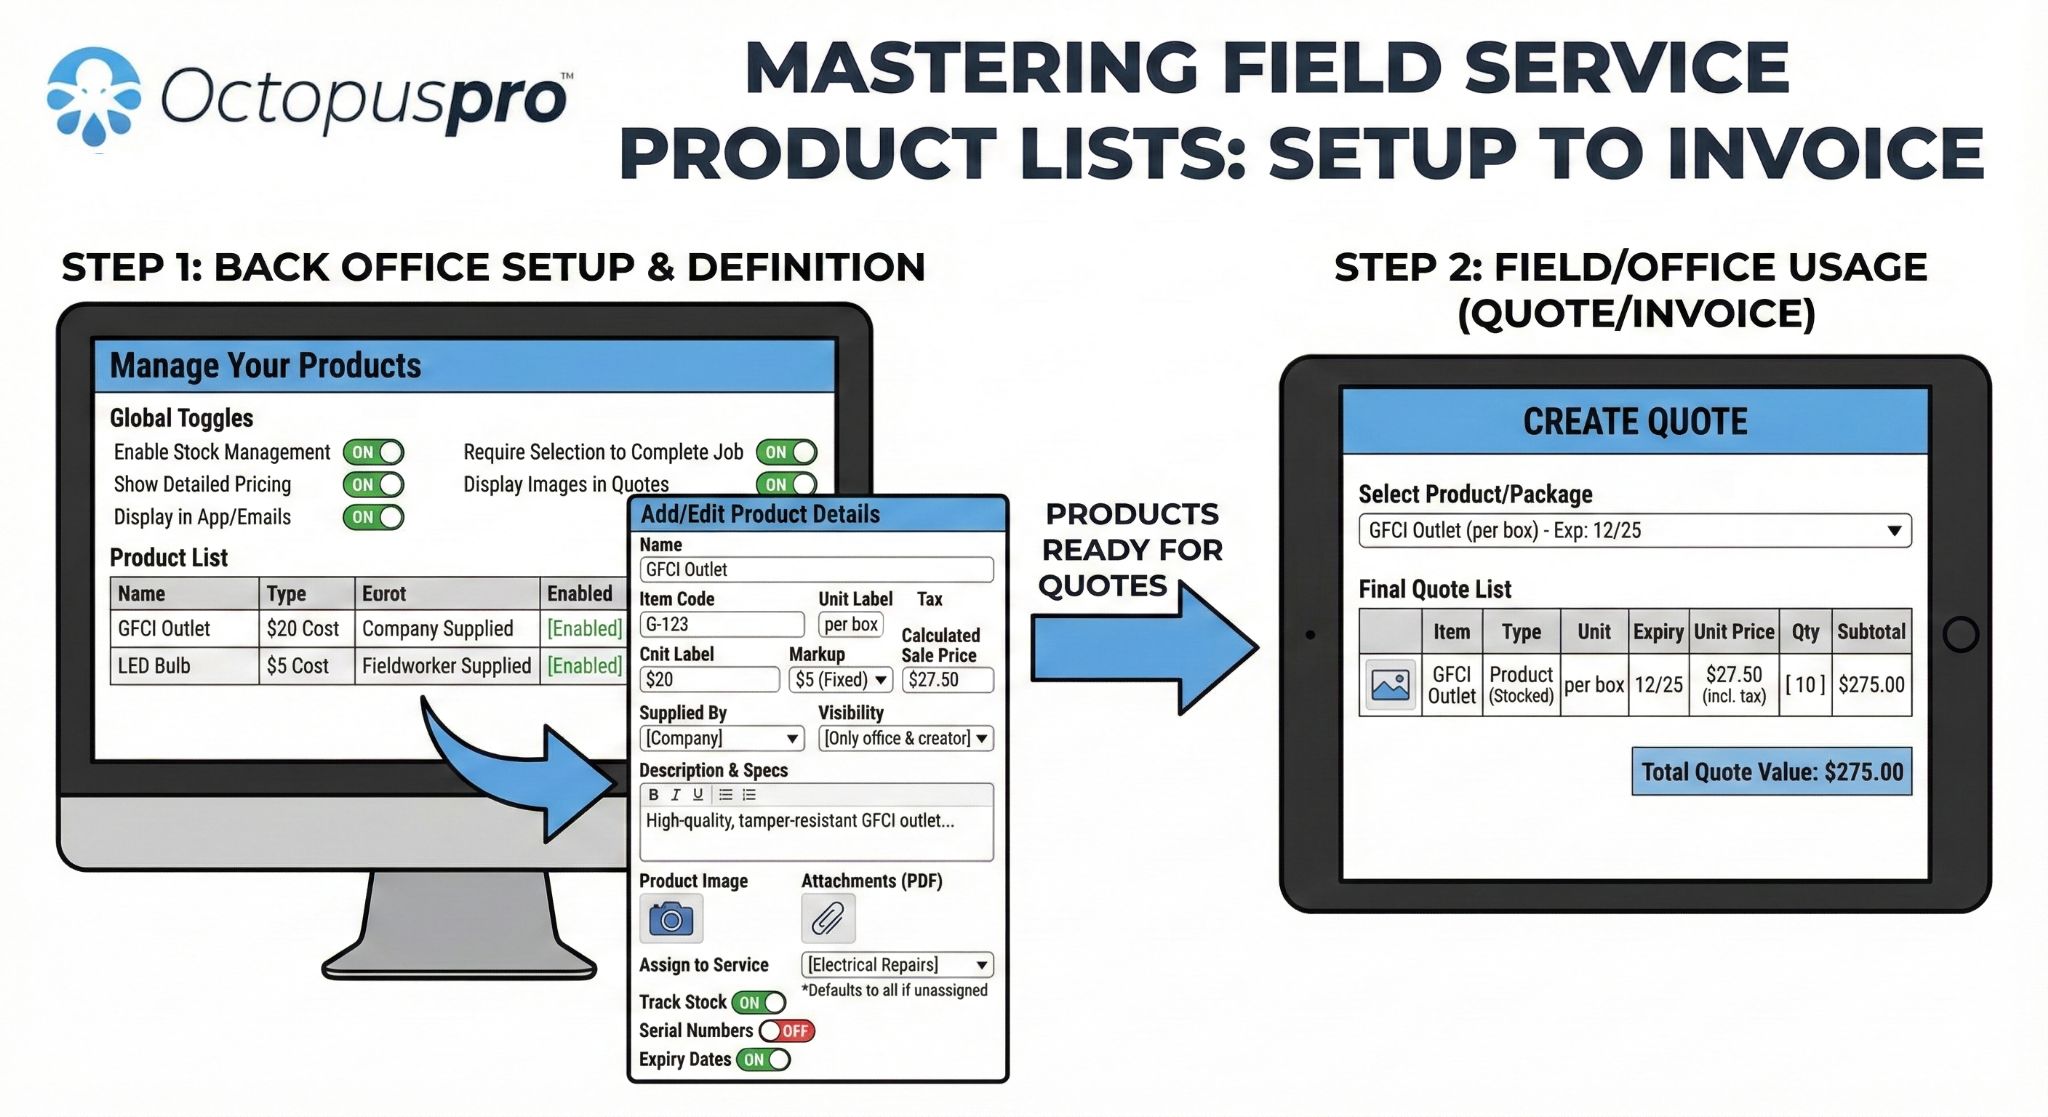
Shopify Tutorial: Set Up Your Store in 2026 (Step-by-Step) - Step 2: Add Products.
In the admin, go to Products and click Add product. For each item, you'll enter:
- Title and description
- Images and pricing
- Product category, variants (size, color), and SKU or barcode
- Inventory tracking and tax settings
- Search engine title and description (for SEO)
Add at least a few products before you customize your theme—it's much easier to design when you can see real content on the page. If you don't have products yet, dropshipping is a low-risk way to start. You can learn how the model works in our Dropship Explained guide.
Finding Products to Sell
Product research is where many new stores succeed or stall. Instead of guessing, you can use ad intelligence tools to see what's already working. PrimeSpy lets you search ads by keyword, URL, or advertiser across Facebook, TikTok, and the Meta Ad Library, and view metrics like reach, spend, and duplicates. That data helps you validate demand before you invest in inventory or ad spend.
Step 3: Choose a Theme
Shopify Tutorial: Set Up Your Store in 2026 (Step-by-Step) - Step 3: Choose a Theme.
Shopify's Theme Store has over 100 free and paid themes. Pick one that matches your brand and the way you want to organize your store. You can preview any theme before publishing. When you're ready, click Try theme, then Publish when you're satisfied.
Step 4: Customize Your Site
From Online store > Themes, click Customize to open the site editor. Here you can:
- Edit individual pages and sections
- Change colors, fonts, and layout via Theme settings
- Add or remove sections on the homepage
Work section by section. Preview on mobile as you go—most shoppers will see your store on a phone first.
Step 5: Add a Custom Domain
Your store starts with a free myshopify.com URL. To look professional, connect a custom domain. Go to Settings > Domains and either buy a new domain or connect one you already own. Follow the prompts to verify and set it as primary.
Step 6: Configure Shipping
Go to Settings > Shipping and delivery. Shopify pre-populates domestic and international zones. Adjust rates to match your policy—for example, set domestic shipping to $0 if you're offering free shipping and build the cost into your product prices. You can also connect third-party logistics (3PL) providers or buy discounted shipping labels directly from Shopify for USPS, UPS, and DHL Express.
Step 7: Set Up Payments
In Settings > Payments, activate Shopify Payments to accept major credit cards and digital wallets. If you use Shopify Payments, you won't pay additional transaction fees on those orders. You can also add alternative gateways or manual payment methods like bank deposits or cash on delivery.
Step 8: Add Essential Pages
Your store comes with a homepage, contact page, and checkout. You'll likely want to add:
- About page – tell your brand story
- FAQ page – reduce support tickets
- Shipping and returns policy – set expectations
- Privacy policy and terms of service – required for many payment providers
Add pages via Online store > Pages > Add page.
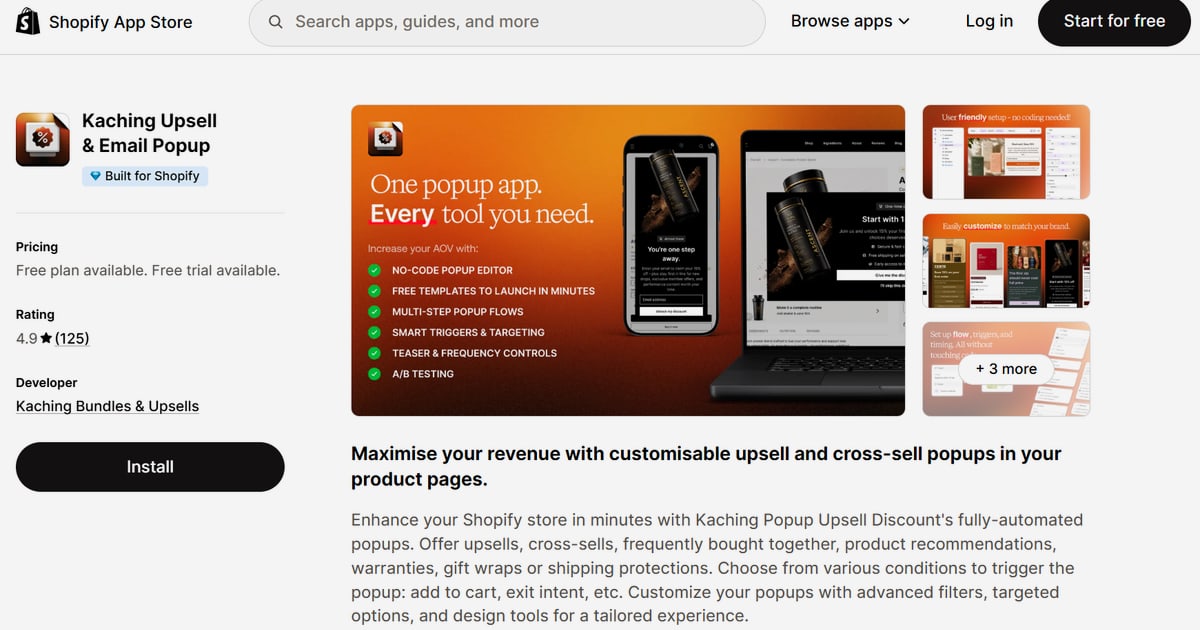
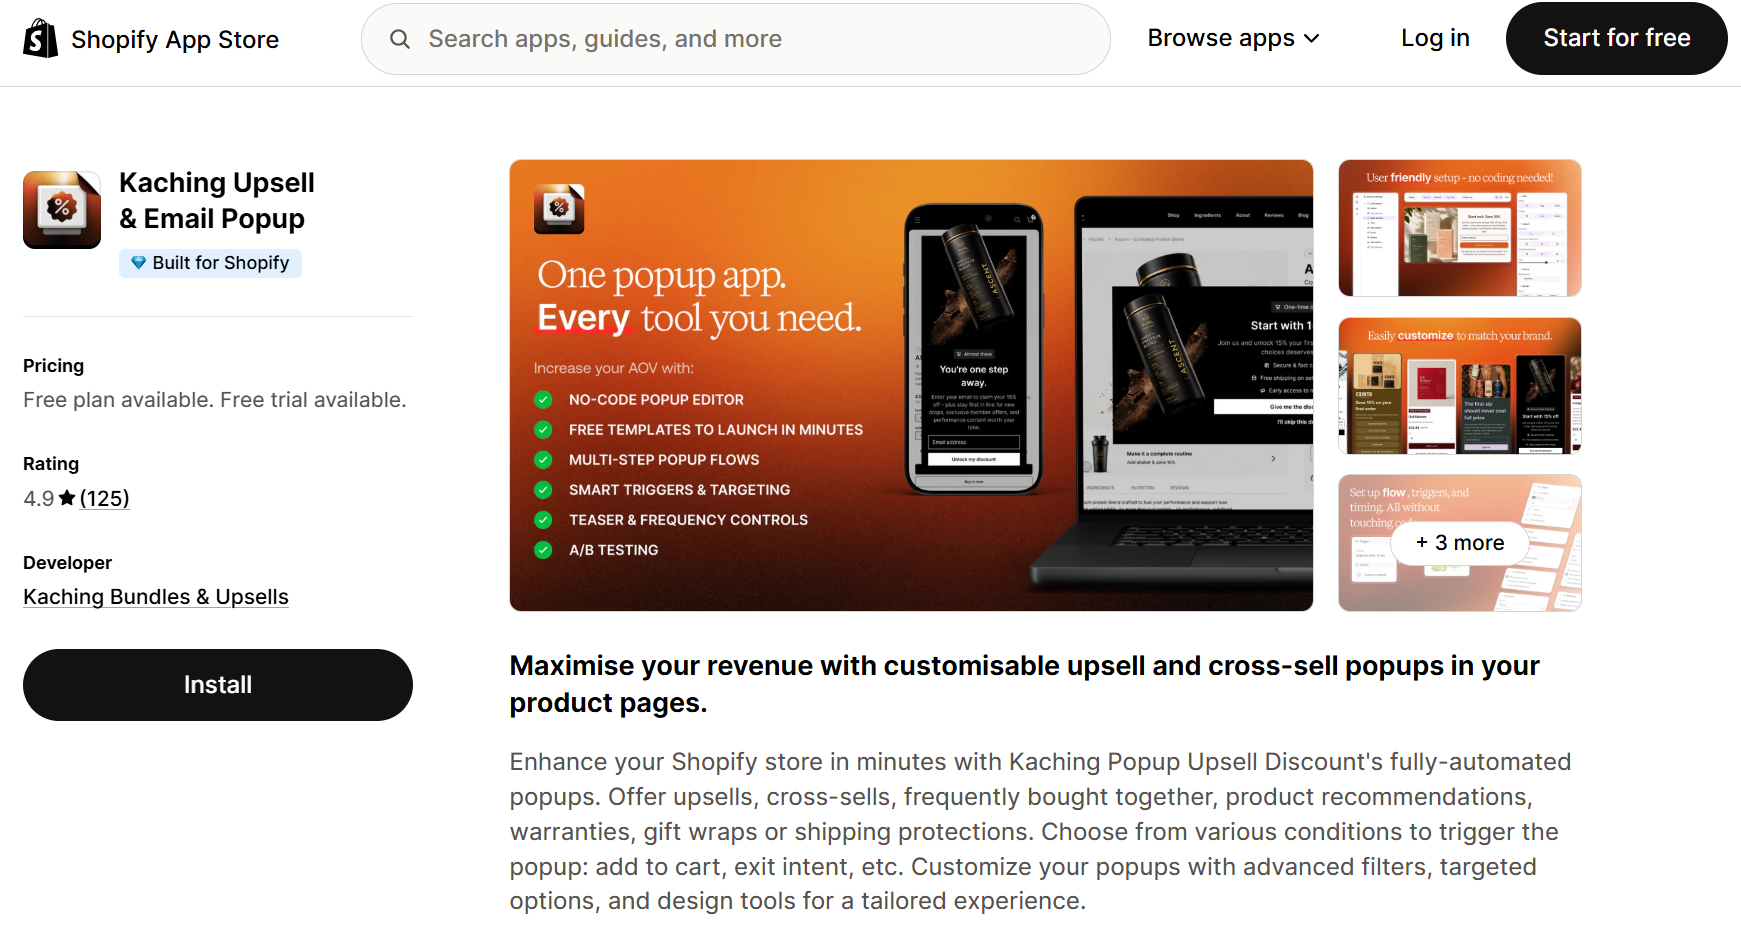
Step 9: Connect Apps
The Shopify App Store has thousands of apps for email marketing, reviews, upsells, and more. Start with a small stack: one email tool, one reviews app, and one analytics or attribution tool. If you're running paid ads, understanding attribution is critical—see our guide to attribution software for how to pick the right tool in 2026.
Step 10: Test and Launch
Before you go live:
- Place a test order using Shopify's Bogus Gateway or a real payment method
- Check your email notifications for orders and shipping confirmations
- Review your store on mobile and desktop
- Run through the checkout flow as a customer would
When everything looks good, remove your password page (if enabled) and announce your launch.
Common Setup Mistakes to Avoid
- Skipping product research – launching with products nobody wants is the fastest way to waste ad spend. Use data, not guesses.
- Over-customizing the theme – a clean, fast store beats a cluttered one.
- Ignoring mobile – most traffic will be mobile; test there first.
- Forgetting legal pages – payment providers often require them.
- Not setting up analytics – you can't improve what you don't measure.
Related reading
- How to Use Minea: A Practical 2026 Walkthrough - Learn how to use Minea for product research, ad spy, and store analysis. Step-by-step workflows, filters, and realistic limits for 2026.
Sources and further reading
- Shopify Tutorial: How To Set up Shopify (2026) - Shopify - Create a store and set up your business on Shopify with this walkthrough guide.
- Shopify Tutorial for Beginners 2026 - Full Store Setup Guide - Enjoy the videos and music you love, upload original content, and share it all with friends, family, and the world on YouTube.
- Intro to Shopify - Follow one of our step-by-step guides and set your business up on Shopify.
FAQ
How long does it take to set up a Shopify store?
You can have a basic store running in a few hours. A more polished store with custom branding, apps, and tested checkout usually takes a few days.
Do I need a domain name to start?
No, you can use the free myshopify.com URL, but a custom domain looks more professional and is recommended before you start marketing.
Can I dropship on Shopify?
Yes. You can source products from suppliers and have them ship directly to customers. Many merchants use ad spy tools to find winning products before committing to inventory.
How do I find winning products for my Shopify store?
Look at what's already working. Tools like PrimeSpy let you search ads by keyword or advertiser and see engagement metrics, which helps you spot trends early. You can also browse daily top products and ad trackers.
What's the best Shopify theme for beginners?
Dawn (free) is a solid starting point. Paid themes like Impulse or Motion offer more features if you need them. Start simple and upgrade only if you hit a limitation.
Conclusion
Setting up a Shopify store in 2026 is more straightforward than ever, but the details matter. Follow the steps above, keep your design clean, and base your product decisions on real data. Whether you're launching a dropshipping store or a branded ecommerce business, a solid setup gives you a foundation you can build on.
For more on choosing the right research tools, see our comparison of PrimeSpy vs Minea vs GetHookd.