
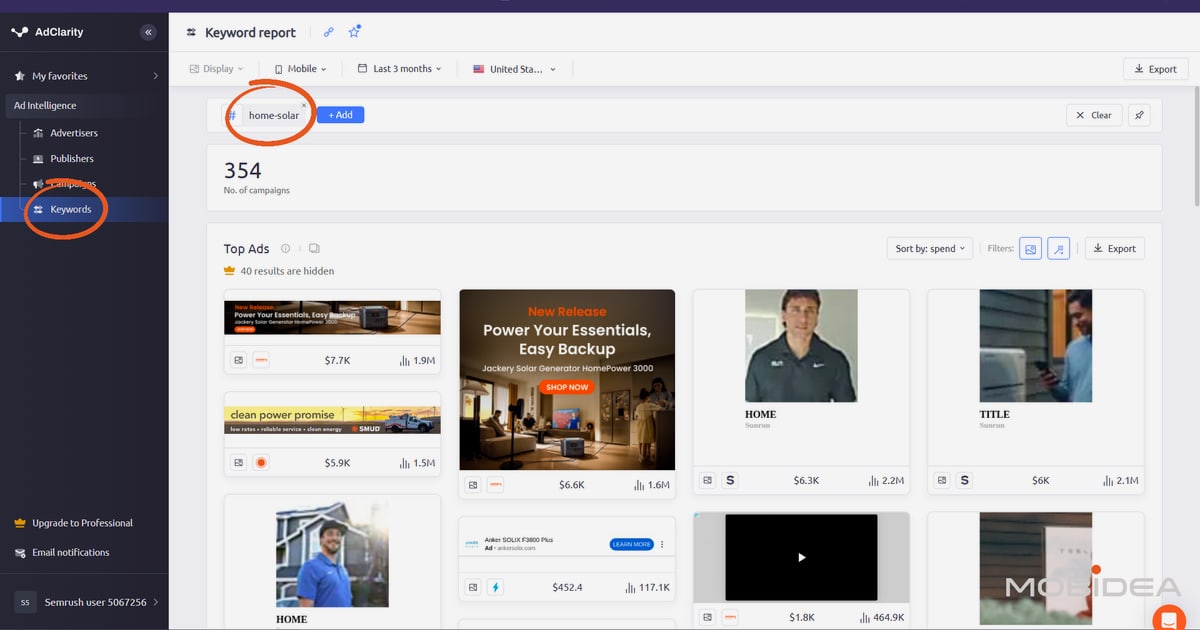
How to Set Up AdClarity: A Step-by-Step Ad Intel Guide
Setting up a new competitive intelligence platform can feel like deciphering a cockpit dashboard before you’ve read the manual. AdClarity, the advertising intelligence app available inside the Semrush App Center, pulls back the curtain on competitor ad strategies across display, social, and video—but only if you configure it correctly from day one. This guide walks you through the complete AdClarity setup process, from account activation to building your first actionable report, so you can stop guessing and start gathering real competitive data.
What You Need Before Starting AdClarity Setup
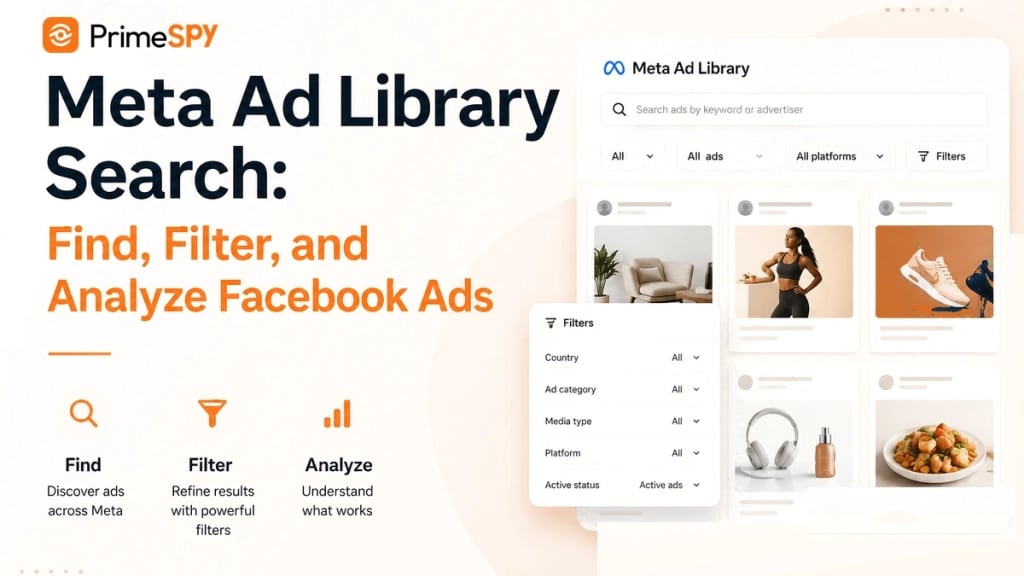
Meta Ad Library Search.
Before you log in, gather a few essentials. AdClarity operates as a Semrush App Center integration, which means you need an active Semrush account. The app itself requires a separate subscription on top of your Semrush plan. You will also want a shortlist of competitor domains—just the root domains, no “https://” or “www.” prefixes. AdClarity’s search parser gets finicky with full URLs, and entering them incorrectly is the most common reason new users see zero results on their first try.
You should also decide which market (country) matters most. AdClarity licenses are market-specific. The Starter plan covers one country; Professional and Team plans also lock you to a single market but unlock more channels and historical data. If you need to track competitors across the US, UK, and Germany, you will need multiple subscriptions or a custom enterprise arrangement. Pick the market where your primary competitors spend the bulk of their budget.
Step 1: Activate AdClarity from the Semrush App Center
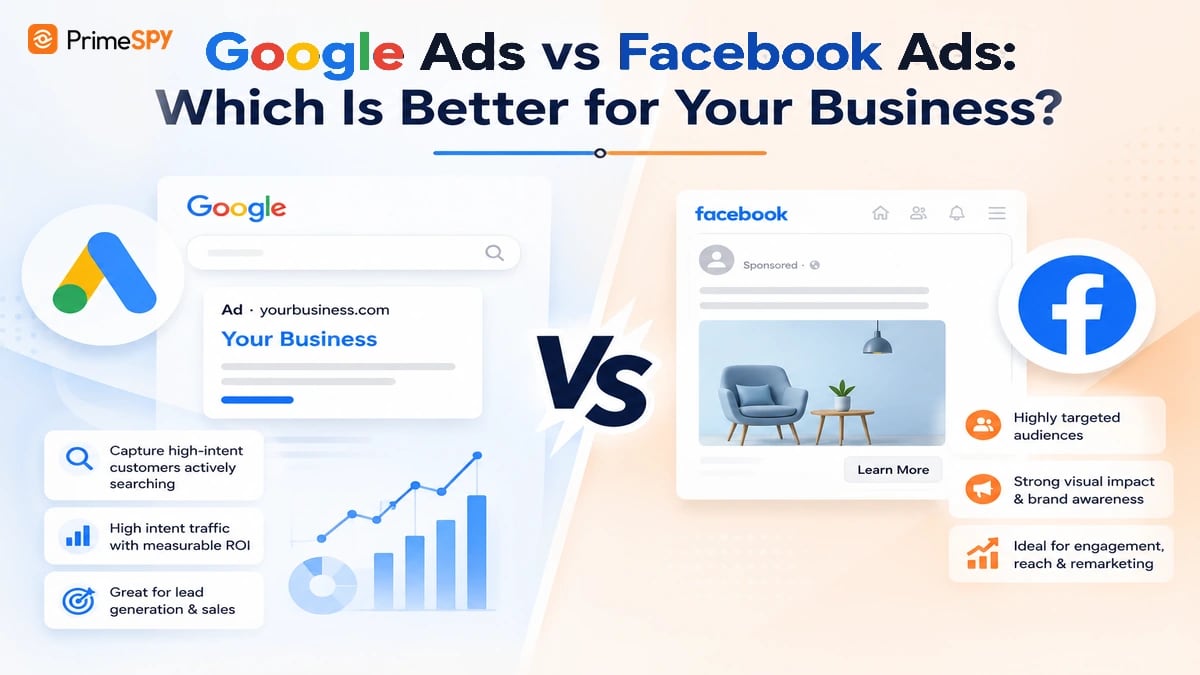
PrimeSpy product interface.
Navigate to the Semrush App Center and search for “AdClarity – Advertising Intelligence.” Click through to the app listing and select your subscription tier. At the time of writing, the plans break down as follows:
- Starter ($129/month): 1 market, 1 channel (Display, Social, or Video), 3 months of historical data, up to 50 reports.
- Professional ($298/month): 1 market, all 3 channels, 6 months of historical data, up to 100 reports.
- Team ($349/month): 1 market, all 3 channels, 12 months of historical data, up to 150 reports.
All tiers include a free trial. Start with the Professional tier if you are serious about multi-channel intelligence; the single-channel limitation on Starter makes it hard to see the full picture of a competitor’s strategy. Once subscribed, AdClarity appears in your Semrush Apps dashboard. Launch it, and the platform will prompt you to select your licensed market immediately.
Step 2: Configure Your Market and Channel Settings
After launch, AdClarity asks you to choose a market. This setting controls the geographic panel data you access. Behind the scenes, AdClarity uses a global data panel of over 25 million users and a technique called Geo Surfing—virtual machines in different countries that observe locally served ads. When you pick “United States,” you are not seeing estimated data; you are seeing what the platform’s digital antennae actually captured in that region.
Once your market is set, select your channels. If you are on the Professional or Team plan, enable all three—Display, Social, and Video—to get a unified view. Display covers banners, native placements, and skins. Video includes pre-rolls, mid-rolls, and in-feed placements. Social spans Facebook, Instagram, LinkedIn, X, TikTok, Pinterest, and YouTube Ads. You can always filter channels later inside individual reports, but enabling everything upfront ensures you do not miss cross-channel patterns.
Step 3: Run Your First Advertiser Report
Here is where most setup guides gloss over the details. To generate your first report, go to the Advertiser Reports section and enter a competitor’s root domain—for example, “brandname.com” instead of “https://www.brandname.com.” AdClarity will return a preview of available data. Click the relevant result to add it to your report queue.
You can add multiple domains before generating the full report. If you want to compare competitors side by side, use Comparison Mode. Add up to ten domains, then select “Compare” instead of “Group.” Grouping merges all data into one consolidated view; comparing keeps each domain separate. For most competitive analysis workflows, Comparison Mode is more useful because it unlocks Share of Voice metrics and lets you see who dominates specific placements.
Once you have selected your domains, set your time scale. The Professional plan gives you six months of historical data; Team extends that to twelve. Start with a three-month window to capture recent campaign activity without drowning in noise. Then hit generate. AdClarity will populate your dashboard with widgets covering estimated expenditure, ad type distribution, top publishers, and creative previews.
Step 4: Customize Your Dashboard and Set Up Alerts
The default dashboard is comprehensive but noisy. Spend ten minutes customizing it. Drag the widgets you will actually use to the top. I recommend prioritizing Estimated Expenditure (to spot budget spikes), Top Ads and Campaigns (to see winning creatives), and Ad Placement (to identify high-value publishers). You can hide widgets you do not need; they are easy to restore later.
Next, configure alerts. This is the single most overlooked feature during AdClarity setup, and skipping it means you will miss the moments that matter. You can subscribe to weekly or monthly email notifications for any report or comparison group. Set alerts for sudden spend increases, new creative launches, or publisher changes. When a competitor ramps up budget on a new channel, you want to know within days, not weeks.
Finally, explore the export options. Every widget and report exports to PDF (unlimited) or Excel (capped based on your plan). If you plan to blend AdClarity data with internal performance metrics, budget your Excel exports carefully or lean on PDFs for archival snapshots.
Common AdClarity Setup Mistakes and How to Avoid Them
Even experienced marketers stumble during onboarding. Here are the pitfalls I see most often:
- Entering full URLs in the search bar. AdClarity expects root domains only. If you paste “https://www.example.com,” the parser may return nothing. Strip everything down to “example.com.”
- Choosing the wrong market on a single-market plan. You cannot switch markets mid-cycle without purchasing an additional subscription. Double-check your selection before confirming.
- Ignoring the channel filter on Starter plans. If you only have access to one channel, pick the one where your competitors are most active. For ecommerce brands, that is usually Social. For B2B SaaS, Display often reveals more.
- Not setting alerts early. Alerts work retroactively only to a point. Enable them during setup so you capture data from day one.
- Assuming spend data is exact. AdClarity estimates spend based on panel data, historical patterns, and network pricing models. Treat the numbers as directional rather than audited financials.
Beyond Setup: Building a Competitive Intelligence Workflow

Arbitrage.
Once AdClarity is configured, the real work begins. The platform shines when you integrate it into a weekly competitive review cadence. Pull your comparison reports every Monday. Look for new creatives, budget shifts, and publisher changes. Export the Top Ads widget to PDF and share it with your creative team so they can analyze messaging trends without logging into the tool themselves.
For teams that need broader ad intelligence across multiple platforms—including Facebook, TikTok, and Meta Ad Library—AdClarity covers the major channels but operates within the Semrush ecosystem. If you need a more flexible, multi-platform ad spy tool that does not lock you into a single market per subscription, you might explore alternatives that offer unlimited market switching and credit-based pricing. PrimeSpy vs SellerCenter vs AdClarity: 2026 Comparison breaks down how these tools differ in platform coverage, pricing models, and data freshness.
AdClarity also works best when paired with a broader analytics stack. Use it alongside your internal campaign data to validate hypotheses. If AdClarity shows a competitor pouring budget into YouTube pre-rolls, check whether your own YouTube analytics reveal audience overlap. The tool gives you the “what”; your internal data provides the “why.”
How AdClarity Fits into a Larger Ad Intelligence Toolkit
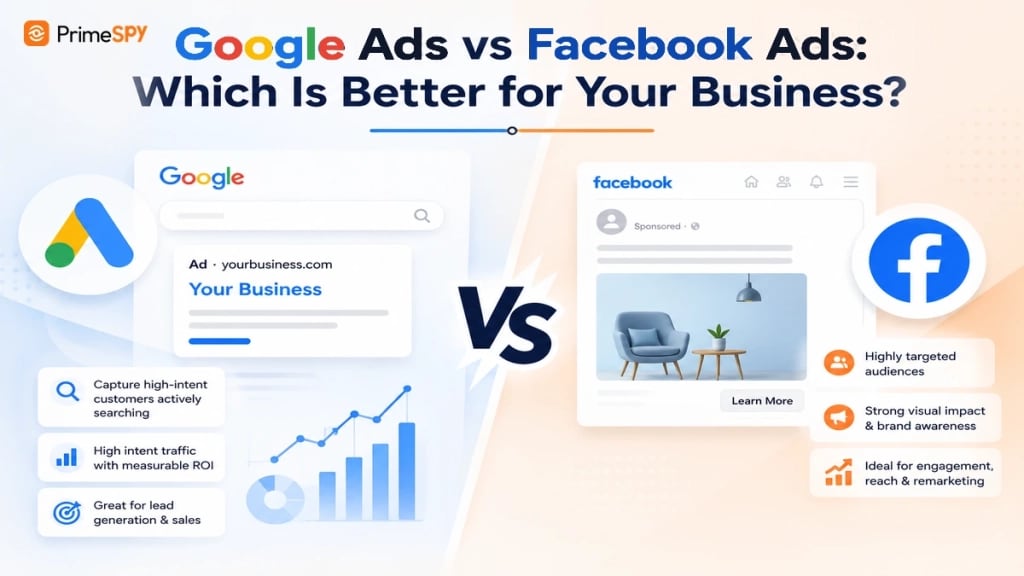
google ads vs facebook ads.
AdClarity is purpose-built for enterprise and mid-market teams that already live inside the Semrush ecosystem. Its panel-based methodology and Geo Surfing technology deliver reliable cross-channel data, and the comparison dashboards are genuinely useful for board-level reporting. However, the single-market licensing model can become expensive if you operate across multiple geographies, and the learning curve for non-Semrush users is steeper than the marketing pages suggest.
For marketers, dropshippers, and ecommerce operators who need a lighter, more flexible ad spy tool that covers Facebook, TikTok, and Meta Ad Library without per-market fees, dedicated ad intelligence platforms offer a different approach. Tools like PrimeSpy provide smart search by keyword, advertiser, or URL, along with advanced filters and detailed metrics like reach, spend estimates, and creative duplicate counts. The PrimeSpy vs AdFox comparison illustrates how credit-based pricing and unlimited creative downloads can suit leaner teams that prioritize speed and multi-platform coverage over enterprise reporting depth.
The key is matching the tool to your actual workflow. If you need Semrush integration, publisher-level granularity, and Share of Voice metrics for quarterly business reviews, AdClarity is the right investment. If you need rapid creative inspiration, daily top products, and the ability to switch markets freely, a dedicated ad spy platform may serve you better.
Related reading
- PrimeSpy vs AdsLibrary vs SellerCenter: 2026 Ad Spy Tool Comparison - Compare PrimeSpy, AdsLibrary, and SellerCenter for ad intelligence and dropshipping. See strengths, pricing, and which tool fits your workflow in 2026.
- PrimeSpy vs Dropispy: Why One Ad Spy Tool Wins in 2026 - PrimeSpy vs Dropispy: detailed comparison of features, pricing, platform coverage, and data freshness. See why PrimeSpy is the stronger multi-platform ad intelligence tool.
Sources and further reading
- Access to adclarity.com was denied - You don't have authorization to view this page.
- What Is AdClarity? A Deep Dive Into Ultimate Ad Intelligence Tool - Curious about AdClarity? I put it to the text, to discover whether it could really turbocharge paid marketing campaigns, and improve your company’s ROI.
- AdClarity - Advertising Intelligence - Unwrap competitors' digital ads, ad spend and impressions
FAQ: AdClarity Setup
Do I need a separate Semrush subscription to use AdClarity?
Yes. AdClarity is an app inside the Semrush App Center and requires both a Semrush account and a separate AdClarity subscription. The two are billed independently.
Can I switch markets after setup?
Not on a standard plan. Each AdClarity subscription covers one market. To analyze additional countries, you must purchase another subscription or contact sales for an enterprise arrangement.
How long does it take for data to appear after setup?
Data is available immediately for historical periods. New campaign data typically appears within 24 to 48 hours, depending on the channel and market.
Does AdClarity track TikTok and Pinterest ads?
Yes. The Social channel includes TikTok, Pinterest, Facebook, Instagram, LinkedIn, X, and YouTube Ads. You must have a plan that includes the Social channel.
Are the spend estimates accurate?
AdClarity estimates spend using panel data and machine learning models. Treat the figures as directional indicators rather than exact financial data. They are reliable enough for competitive benchmarking but not for reconciling a competitor’s actual ad invoices.
Can I export data to share with my team?
Yes. All reports and widgets export to PDF (unlimited) and Excel (capped based on your plan). PDFs are ideal for sharing creative previews and summary dashboards with stakeholders who do not have AdClarity access.
Conclusion: Set Up AdClarity Right the First Time
A proper AdClarity setup saves hours of frustration later. Activate the right plan for your channel needs, lock in your primary market carefully, and build your first comparison reports with clean root domains. Customize your dashboard to surface the widgets you will actually use, and—this is critical—set alerts before you close the tab. Competitive intelligence only works when you catch changes early, and AdClarity’s alerting system is your early warning radar.
Once you have mastered the basics, explore how AdClarity fits into your broader intelligence stack. For a detailed side-by-side look at how it stacks up against dedicated ad spy platforms, read the PrimeSpy vs SellerCenter vs AdClarity comparison. And if you are evaluating whether a multi-platform ad spy tool might better suit your workflow, the PrimeSpy vs Adplexity Social comparison offers a practical breakdown of features, pricing, and platform coverage.